

6 Tips: How to Alter, Fix or Repair Fabric Face Masks [No Sew & Sewn]
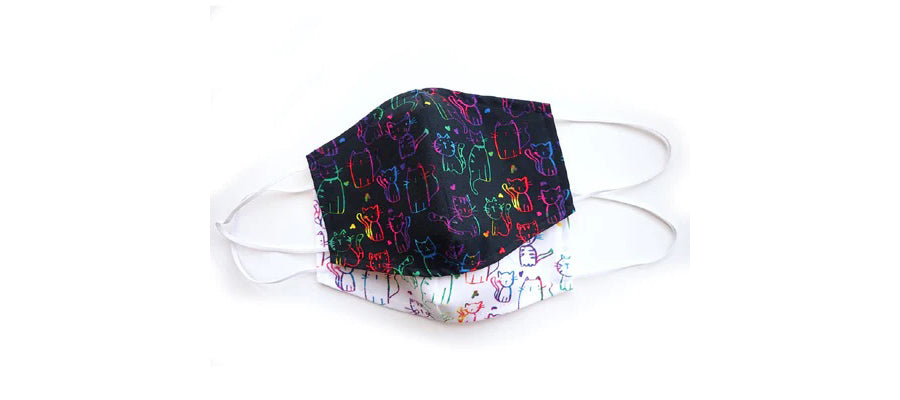

Many of us wear a face mask daily whether for work, school, errands and daily activities. Cotton fabric face masks are a money saving, reusable and eco-friendly. Fabric masks can be washed and reused and come in an array of patterns and colors to suit your style and match your wardrobe.
Many people may choose to continue wearing face masks in certain situations such a hospital or doctor visits, airports, buses, trains and very crowded places.
There are many reasons why you might want to alter or repair your fabric face mask to:
- improve the fit of your face mask
- repair broken elastic or ear loops
- adjust the elastic size (shorter or longer) for a better fitting mask
- transform your face mask to wear around the head instead of the ears
SUPPLIES
- fabric glue for no sew repairs
- needle and thread for hand sewn repairs
- elastic
Tip #1 - Lengthen the elastic or ear loops for a better fitting face mask
This can be done with fabric glue or hand sewing. You just need to cut the existing elastic at the middle point and then add in another piece of elastic of the desired length. Include atleast a 1/2" overlap when measuring the additional piece of elastic.
Tip #2 - Shorten the elastic or ear loops for a better fitting face mask
This technique is recommended if you need to shorten elastic ear loops by 1/2" or more. First cut the existing elastic at the middle point, then overlap the ends and rejoin with glue or hand sewing. Adjust the amount of overlapping according to your desired fit.
Tip #3 - repair broken or worn out ear loops
You can easily renew your fabric face mask by replacing the elastic. First cut out the old elastic, but leave a 1/2" of each end attached. Next, cut new elastic to the desired length. Glue or hand sew the new pieces of elastic to the 1/2" tails, overlapping 1/2" to ensure a good bond.
Tip #4 - transform ear loops to wear around the head
Some people may find it more comfortable to wear the elastic bands around the head rather than the ear. You can easily transform your earloops by making them longer to wear around the head. First cut out the old elastic, but leave a 1/2" of each end attached. Next, cut new elastic to the desired length. Glue or hand sew the new pieces of elastic to the 1/2" tails, overlapping 1/2" to ensure a secure attachment.
Tip #5 - add elastic adjusters
If you are able to find elastic adjusters that fit the type of elastic on your mask, you can insert them into the elastic using a tiny crochet hook or an open eye needle (you can easily make your own with tigertail or 26 gauge craft wire). You one of these tools mentioned above to pull the elastic through the holes of the adjusters.
Tip #6 - Hang your mask around the neck for easy access when not in use
If you are in a situation where you need to remove your mask but want to keep it close at hand, we have an option to hang your mask around your neck when not in use. This keeps it accessible and prevents dropping it on the floor from frequent on and off. All you need is 1/8" or 1/4" elastic (round elastic cord works too). Cut 12-14" (or more depending on neck size), thread the elastic through both earloop tie them together to create a continuous loop. If you need to text the lenghth, don't tighten the knot all the way, so if can be easily undone if you need to make adjustments. When you are done, you will be able to hang your mask around your neck when not in use, but you can quickly get it on when needed.
Leave a comment
Comments will be approved before showing up.